The Legend of Zelda: Tears of the Kingdom / Open World
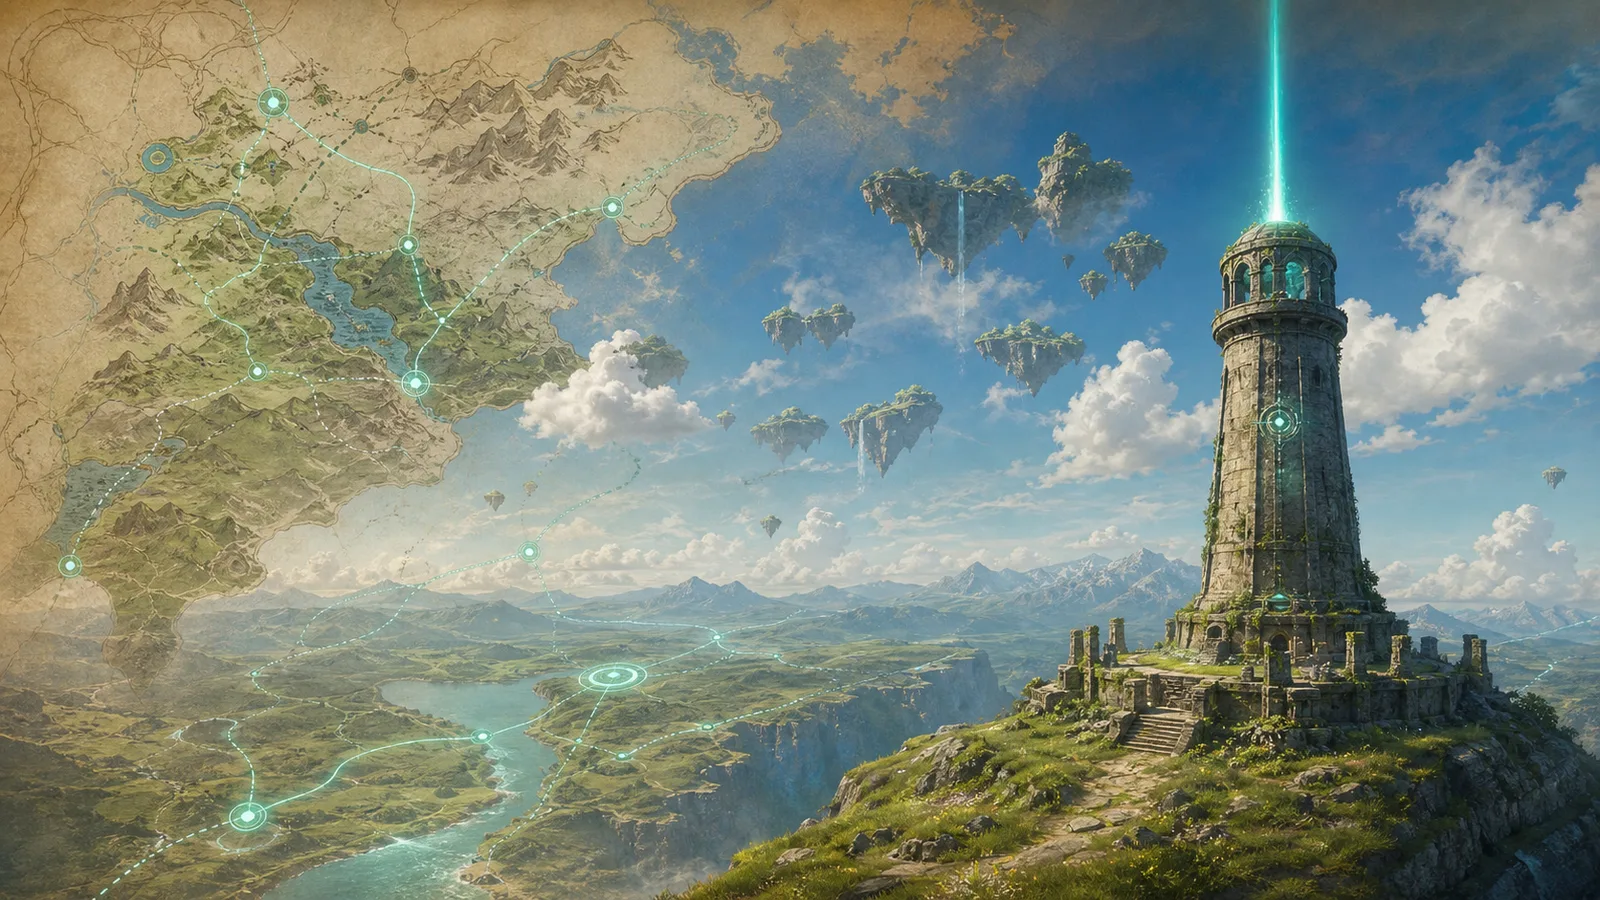
Tears of the Kingdom Skyview Tower Order for Beginners
A beginner-friendly Skyview Tower unlock order that opens useful map coverage before harsher weather, heat, cold, and enemy pressure.
map Jun 13, 2026 Skyview TowersMapRouteBeginnerFast Travel
Back to Game Site Outline
What This Page Covers Next
Scan the outline first so readers can jump to the exact section they need instead of scrolling blindly.
Quick Answer
Do not rush the farthest towers first. Start with Lookout Landing, then open practical early coverage such as Hyrule Field, Lindor’s Brow, and Popla Foothills. Delay towers that ask for harsh weather, heat, cold, or enemy camp pressure until your food, armor, and weapons are steadier.
Recommended Order
| Order | Tower | Why it helps | Watch for |
|---|
| 1 | Lookout Landing | Story-guided first tower and map-system unlock | Finish the basic setup first |
| 2 | Hyrule Field | Central coverage for shrines and stable routes | Nearby enemy pressure |
| 3 | Lindor’s Brow | Connects toward the Rito / northwest route | Cold preparation |
| 4 | Popla Foothills | Opens useful southern and Faron coverage | Entrance puzzle |
| 5 | Sahasra Slope / Mount Lanayru | Connects eastern and Zora-side exploration | Rain can punish climbing |
| 6 | Gerudo Canyon / Gerudo Highlands | Better after desert prep | Temperature pressure |
| 7 | Eldin Canyon | Fire-region routing is easier with preparation | Flame protection |
Before You Leave
| Prep | Why |
|---|
| Stamina meals | Climbing, gliding, and recovery feel safer |
| Cold / heat meals | Prevents environmental damage from ruining the trip |
| Arrows and explosive materials | Helps with camps and remote targets |
| Horse or simple vehicle | Reduces route friction |
| Several fast-travel points | Makes failed attempts less annoying |
When To Delay A Tower
| Situation | Better move |
|---|
| Enemy pressure is too high | Mark it and return with better gear |
| Rain makes climbing painful | Change route or prepare anti-slip tools |
| Temperature drains health | Bring food or armor first |
| The entrance puzzle is unclear | Save it for a focused single-tower guide |
After Opening A Tower
Every tower should lead to three quick checks:
- Mark nearby shrines from the air.
- Look for Depths entrances, caves, wells, and stables.
- Land near a shrine or stable so you create another fast-travel anchor.